
A good sensor is key to a nice astrophoto
One of the most important parts of the astrophotography process is to have an adequate camera which is up for the task. You can do with just one but often it is advisable to a guide camera as well as a main imaging camera. Since I have been doing landscape photography for many years, my main camera, as of 2022, is a Nikon Z5 full-frame camera.
Main imaging camera
By late 2024 I decided it was time for a change. At that point, I had used my trusty Nikon Z5 for astrophotography, but with increasing exposure lengths came more read-noise, and it became harder to fight the noise in the images. Hence I opted for the ZWO ASI533MC Pro dedicated one shot color camera.
ZWO ASI533MC Pro
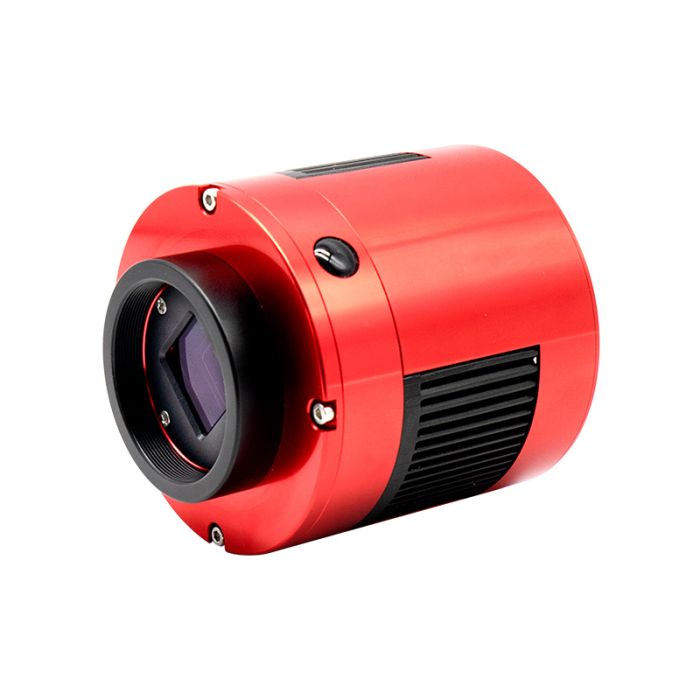
This dedicated cooled astro camera has proven to be a reliable workhorse that delivers images of outstanding quality with little or no noise, compared to the Nikon Z5.
The reduced file size from this camera when going from a 24.3 Megapixel camera to a more modest 9 Megapixel camera has improved the workflow dramatically. The file transfer speed went from being slow to being very fast.
This camera has a square sensor, so taking astrophots feels like the old days, when I was working at the Nordic Optical Telescope at the Observatory of La Palma in the Canaries.
The ASI533MC Pro has a CMOS sensor with 3008 x 3008 pixels and a pixel scale of 3.6 microns. The camera requires special software to run and you would need some form of storage connected. to keep it running.
All the Pro versions of ZWO’s ASI cameras are cooled, which means they can reduce the amount of thermal read-noise. This particular camera can cool the sensor to 35 degrees Celsius below ambient temperature.
Nikon Z5 – unmoded
The heart of my astrophotography rig is my camera. For some years I have been photographing nature see more on my nature photography site https://blog.thomasamby.dk/
When hiking in nature the reduced mass of the mirrorless camera is a clear advantage over the more trusty old Nikon D3 which I used for many years to take stunning photos of the nature I live in here in Gjern.
The Z5 has a 24.3 Megapixel full-frame sensor meaning that the image area is 35.9 x 23.9 mm in size. It captures images onto SD-cards despite having heard some argue about the lack of robustness of the SD-card over e.g. XQD-cards I have never experienced any issues with SD-cards.

The sensor is a CMOS sensor and since I still use it to take photos of nature and people I have not modified the camera specifically for astrophotography.
Guide camera
For guiding I have chosen to purchase the ZWO ASI 120mm mini guiding camera, you can see the camera below.
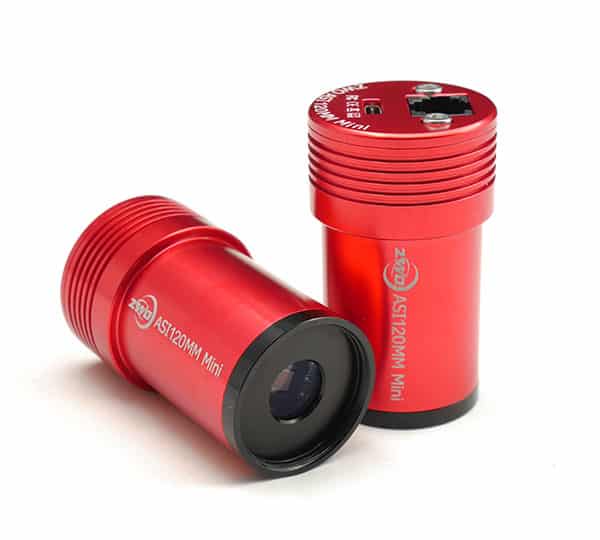
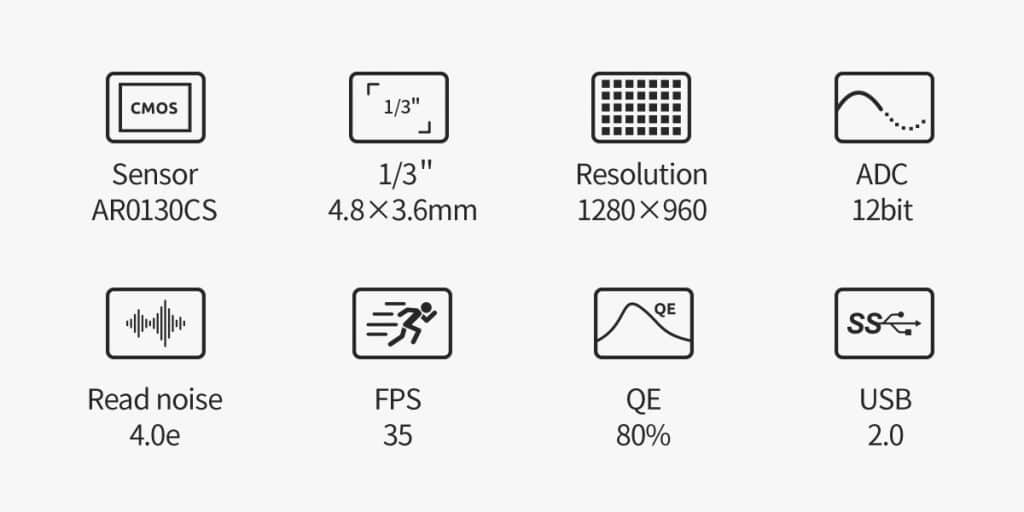
As you can see from the infographic the sensor in this camera is very small but with a reasonable resolution of 1280 by 960 pixels. The pixels in this camera are square with a pixel size of 3.75 micrometers. The camera dimensions are only 61 mm by 36 mm in diameter. It connects to the mount through the ASIair Mini from a USB-C to a USB 2.0.
It is also possible to run the guiding through an ST-4 cable directly to the mount but that should produce worse guiding than using the ASIair Mini for running the guiding. For now, I am going to pair this mini camera with the ZWO 30F mini Guidescope as it comes with a standard 1.25″ front that connects easily to that scope. You can see my experiences with guiding in the blog Finally weather improvements
A small update on the ASI120MM mini.
I have been using it for some time now with good results to show – And I have been able to get reasonable auto-guiding from this nice little cam. But I have been lacking a good way to mount it to my camera. However, I did solve this using zip-ties and an L-bracket. You can read more on this in my coming Blog update.
Below you can see an example of an image taken after I installed the guide cam and an image that has been taken with the guide cam attached, which has allowed for dithering that makes the difference in image quality.
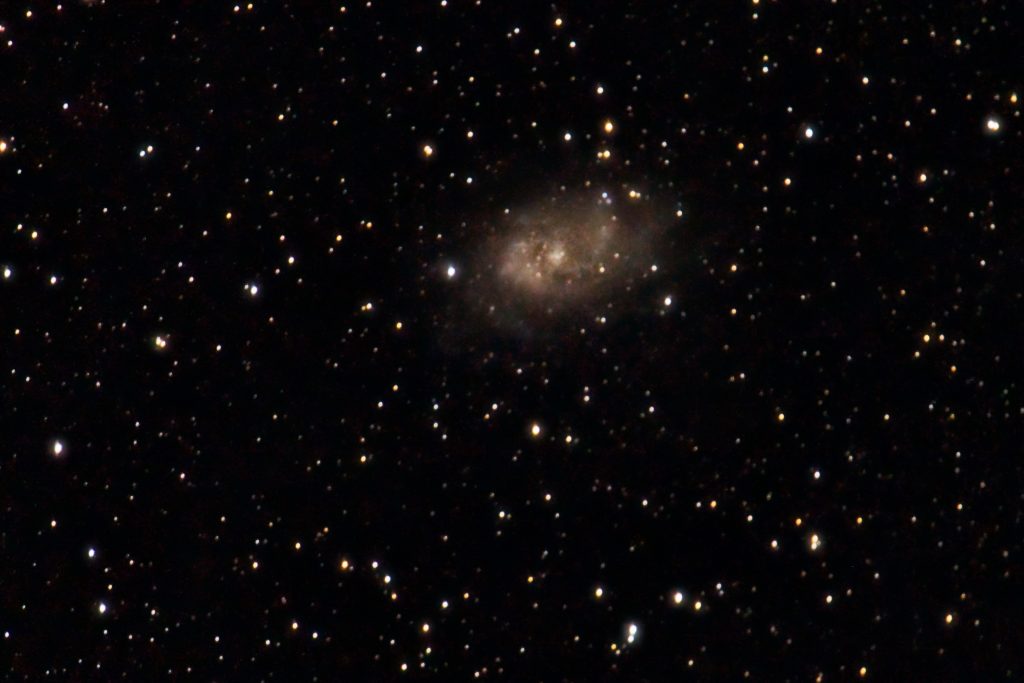
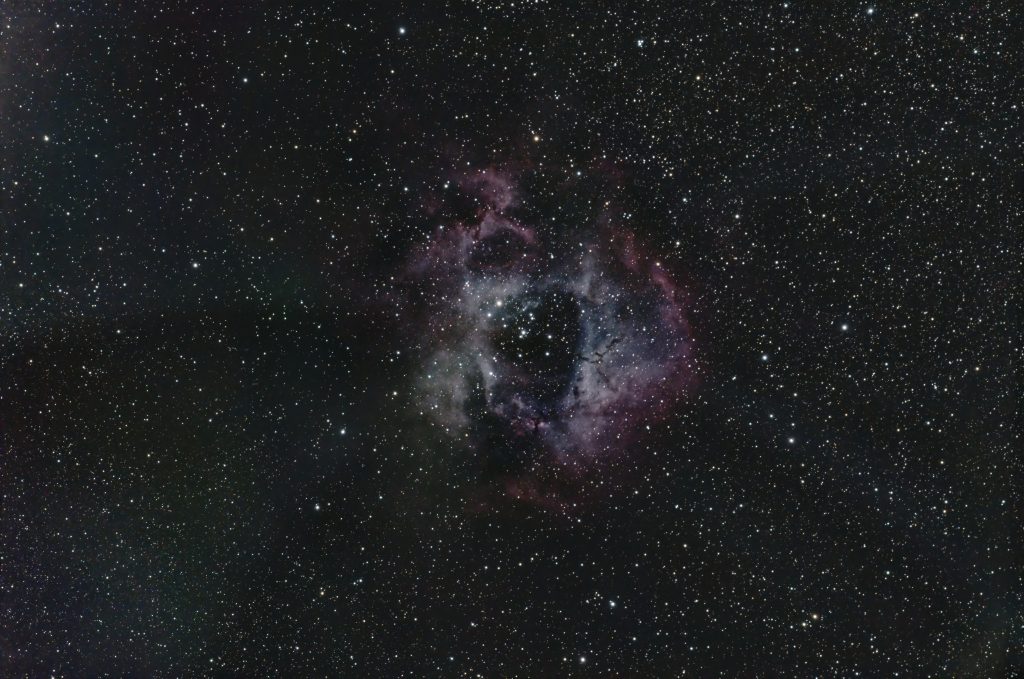
It is evident from the images that introducing an auto-guiding camera has tremendously improved the results of my astrophotography. To be fair in the comparison here are a few details. Both images have less than 1 hour of integration time the subs of M33 are 30-second exposures while the Rosette Nebula has been photographed with 60 seconds subs – due to guiding.
Both datasets have been recorded using the Tamron 150 – 600 mm at 600 mm and f/6.3, tracking has been performed with the Star Adventurer GTi mount. In the case of the M33 image the polar alignment was performed through the polar scope of the Star Adventurer GTi and the object was located through the SynScan app, while the Rosette Nebula image was polar aligned using the polar alignment procedure within the ASIair app and the ASIair mini was used to control the mount e.g. finding the object and controlling the observations from an Ipad resulting in longer exposure times for the subs.